I'll be honest — I didn't start caring about coffee because I was chasing flavor. I started caring because I realized what was actually in my cup.
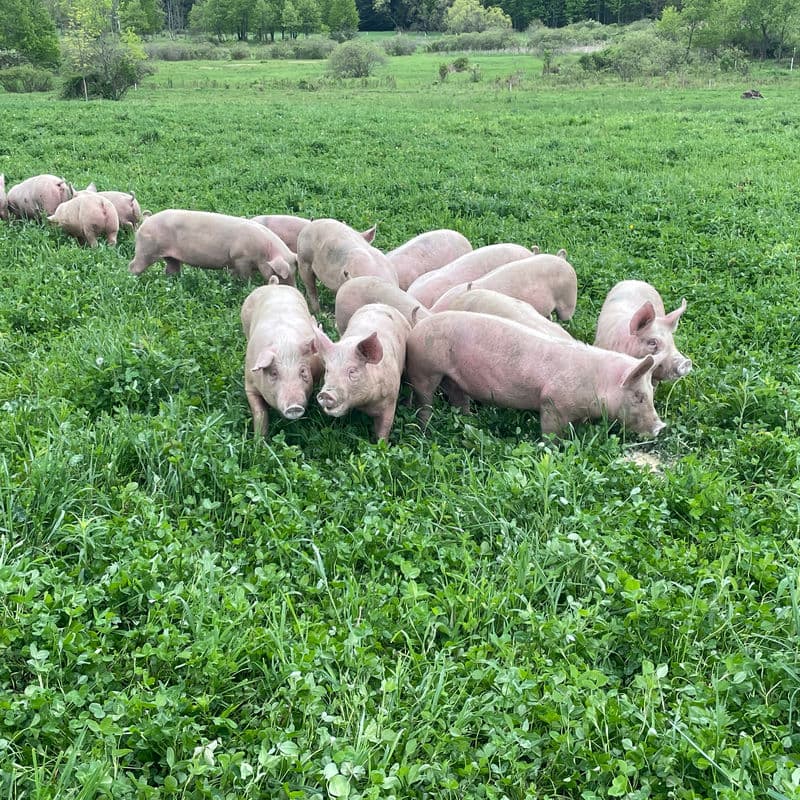
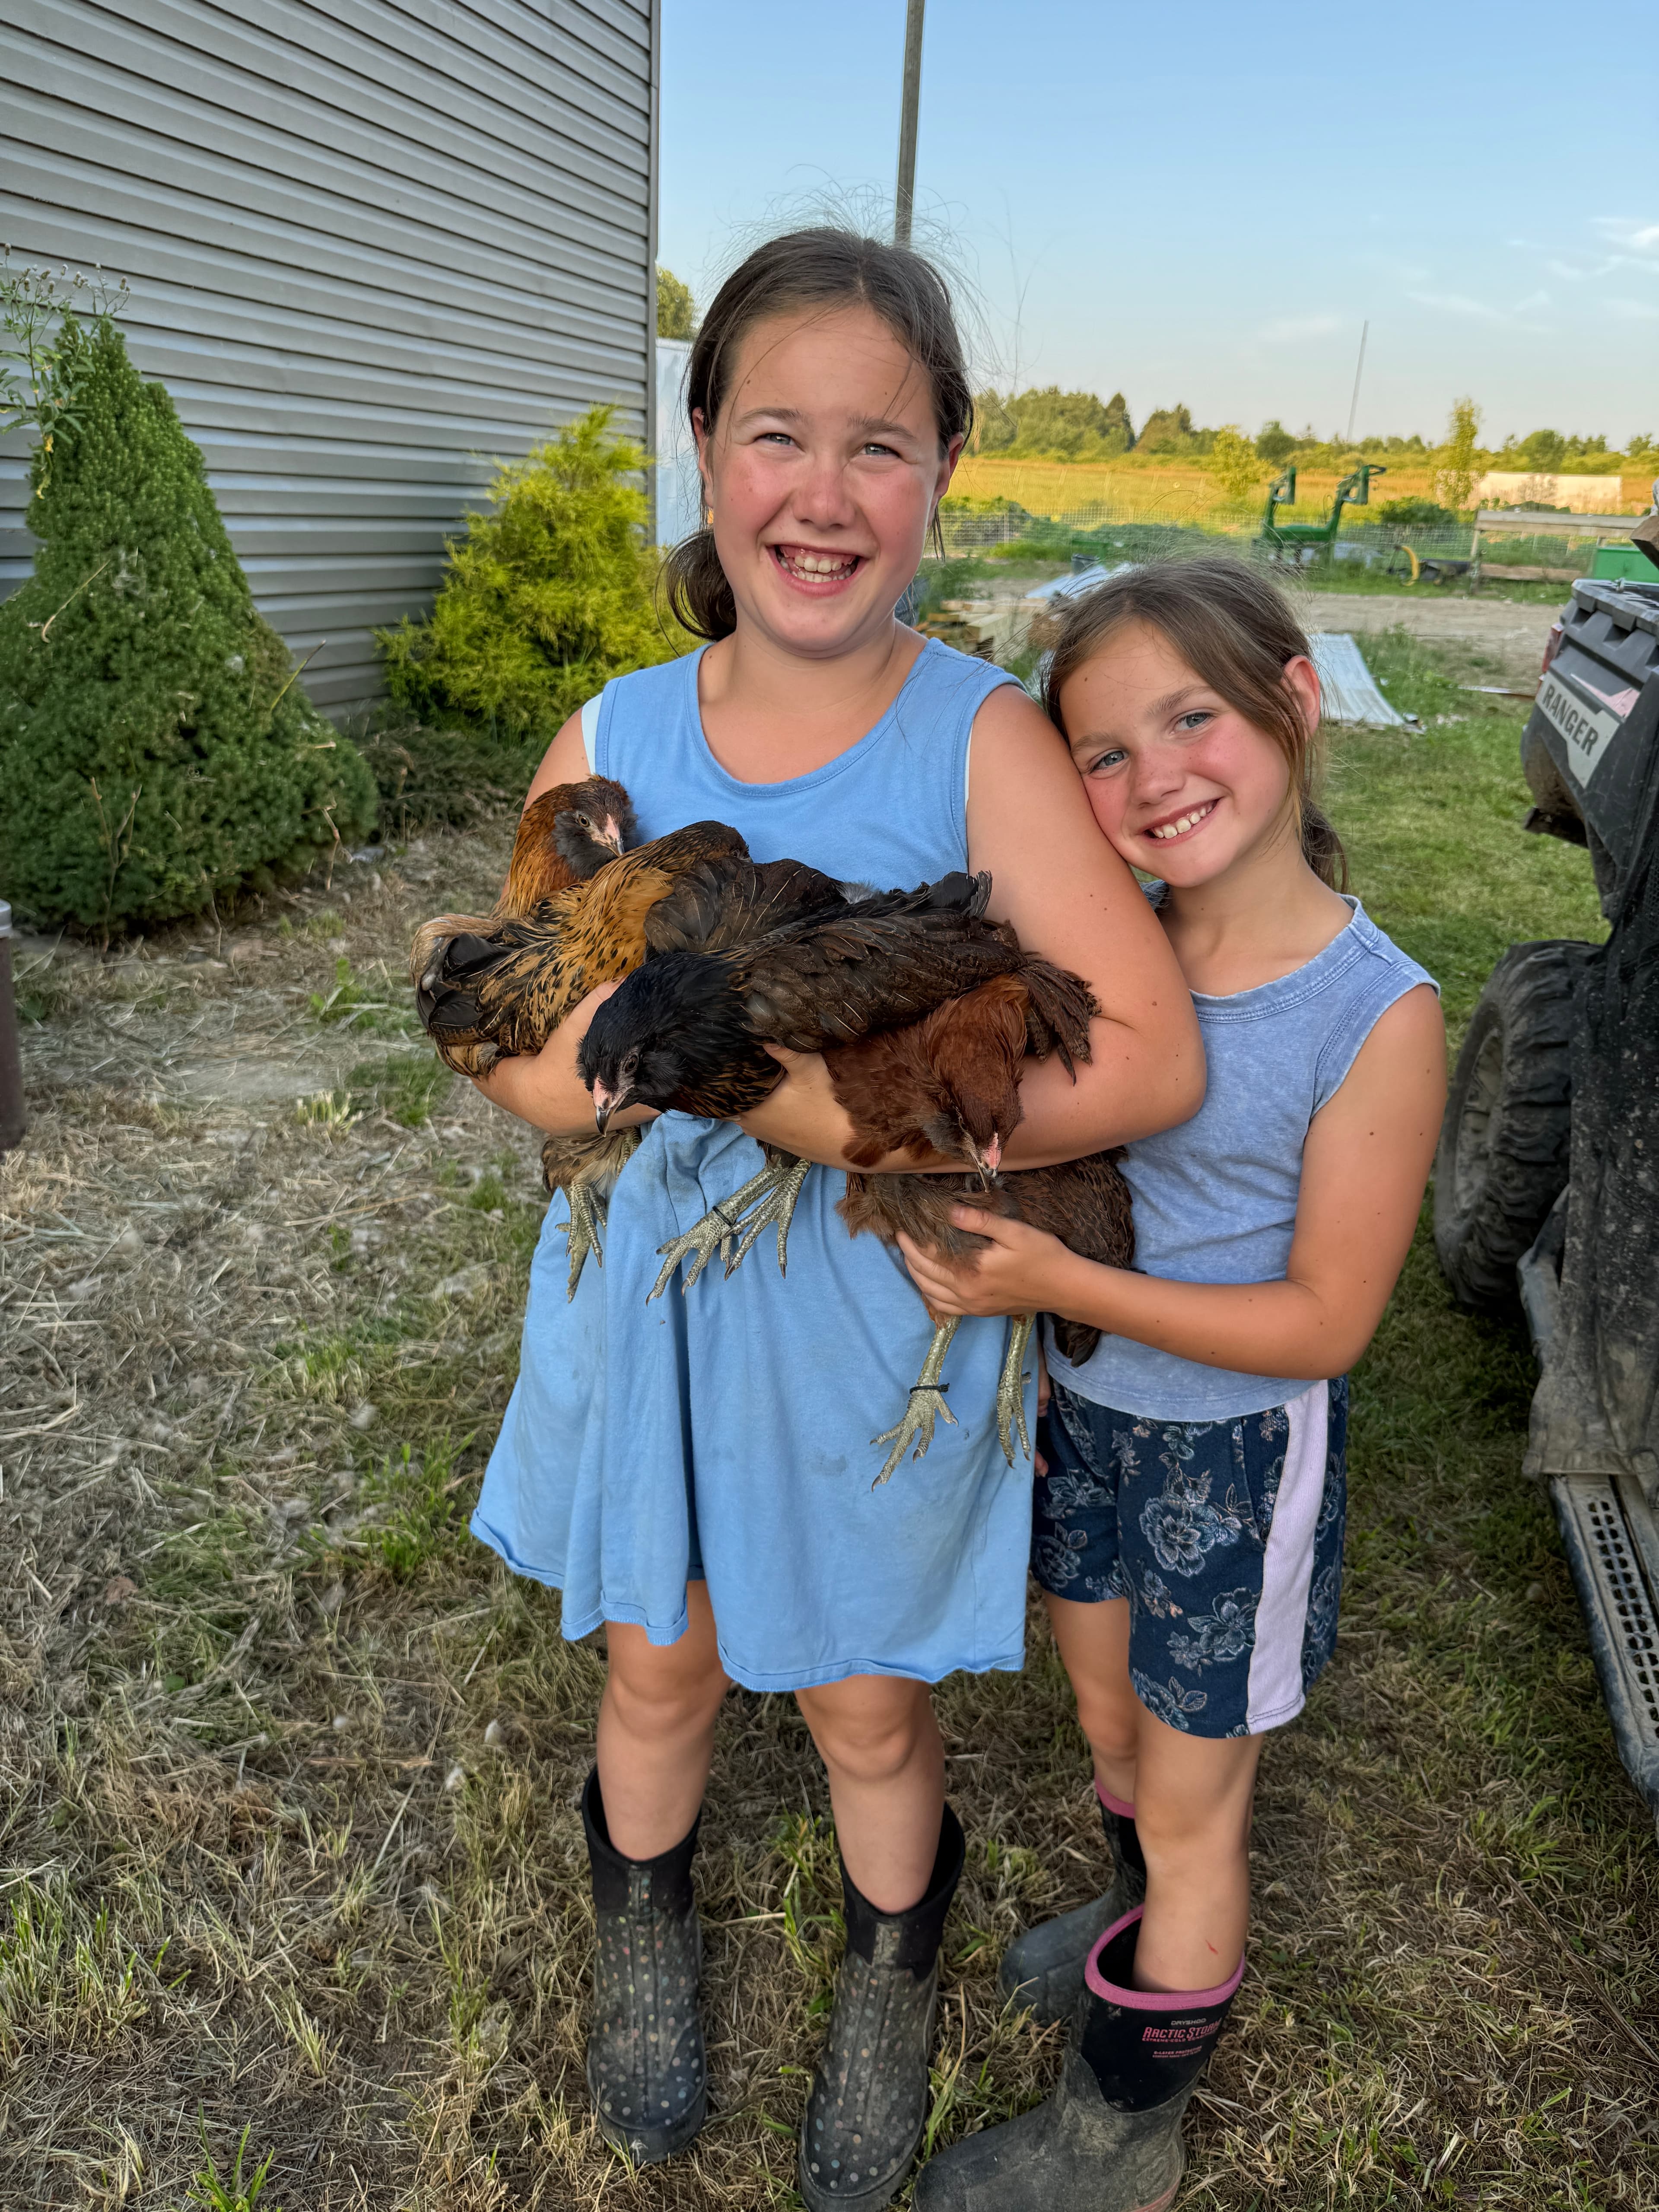
We raise 100% grass-fed beef, pasture-raised pork, and eggs from hens on pasture 365 days a year. We care deeply about what goes into our animals and what ends up on your plate. So when I started researching coffee — really digging in — and found that a standard drip machine with plastic components can release hundreds of microplastic particles per cup into your brew, it wasn't something I could ignore. Research has shown that hot water passing through plastic reservoirs, tubing, and pods can leach microplastics and chemicals like BPA and phthalates into your coffee — compounds with emerging links to hormone disruption and inflammation. One study found over 450 plastic particles per liter from a common drip machine. If you drink coffee every day, that adds up fast.
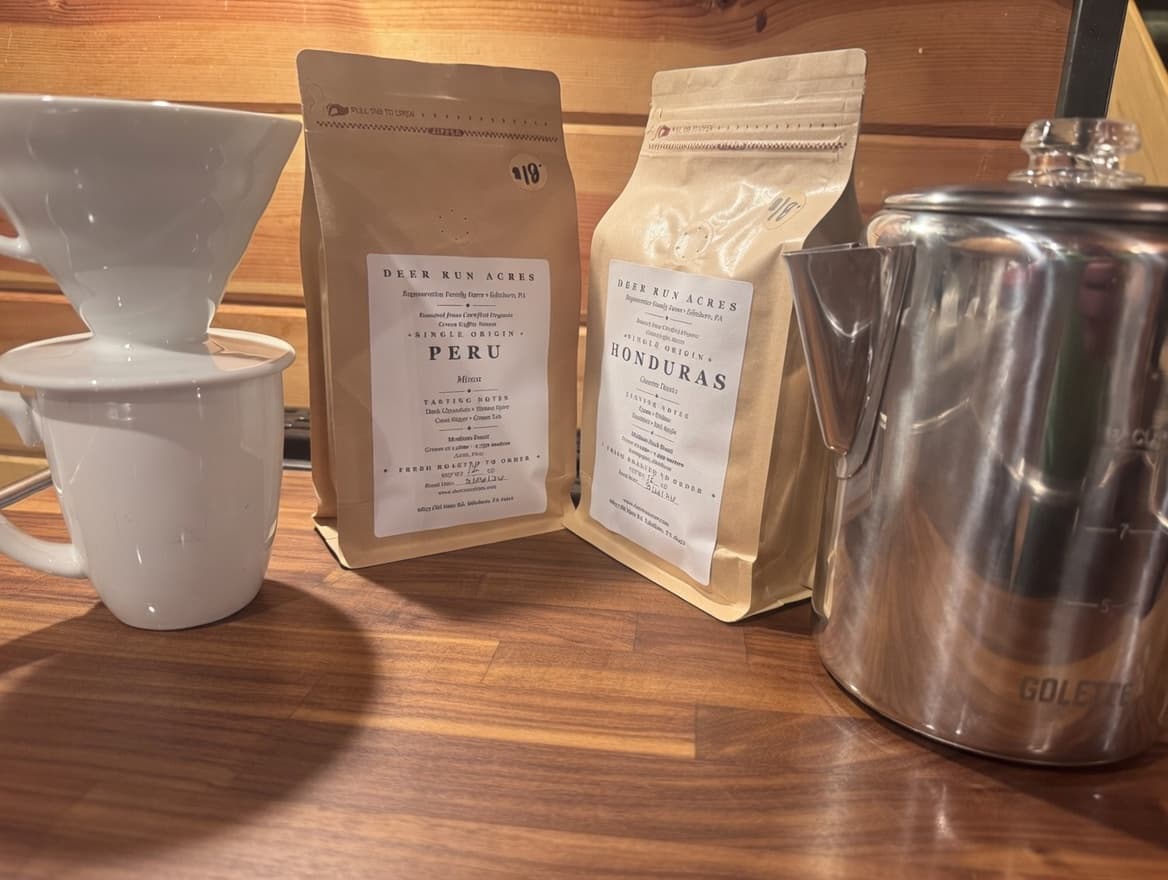
That's why I brew on a stainless steel stovetop percolator — a Coletti Bozeman — and a Hario V60 glass pour over. No plastic in the hot water path. Same reason we source certified organic green coffee beans for everything we roast here at Deer Run Acres — because conventional coffee is one of the most heavily treated crops in the world, and those chemicals don't stay on the farm.
But this isn't purely a health post. Once I started paying attention to the equipment and the beans, I also noticed how much better the coffee actually tasted. Turns out those two things are connected. Here's what I've learned.
Start With the Bean — and the Clock
Everything starts with the bean. And the most overlooked variable in most people's coffee routine isn't the grinder or the brewer — it's timing.
When coffee is roasted, heat triggers chemical reactions inside the bean that produce large amounts of carbon dioxide (CO₂). That gas gets trapped in the cell structure and slowly releases over days and weeks in a process called degassing. Brew too soon, and that escaping CO₂ pushes water away from the grounds, causing uneven extraction — you end up with a sour, underdeveloped cup that doesn't reflect the actual quality of the bean. Brew too late, and oxidation has done its damage.
The window
Roast level affects this timeline. Darker roasts have a more porous cell structure, so CO₂ escapes faster — ready to brew in 3–7 days. Lighter roasts take longer because the denser bean holds the gas in. You may need to wait a full week before a light roast opens up.
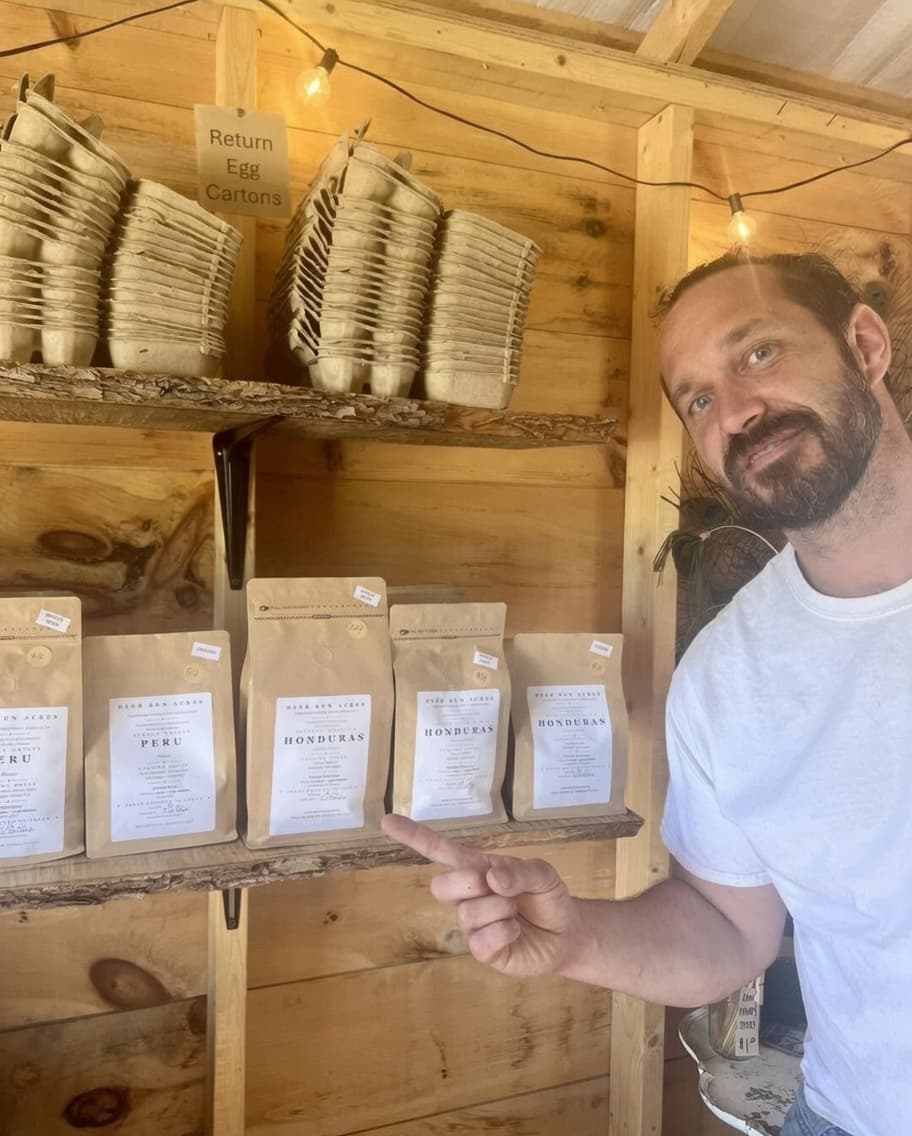
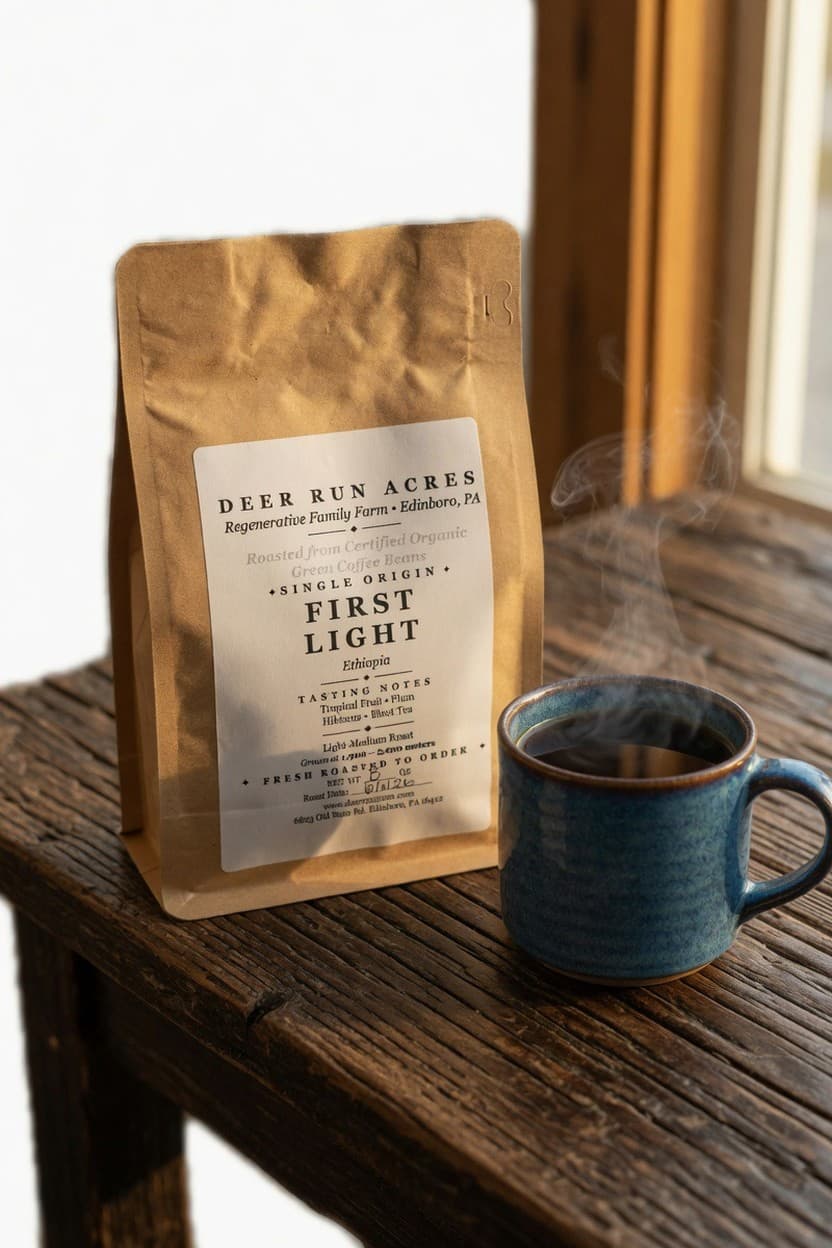
At Deer Run Acres, we roast to order. When your bag arrives, you're right in that window. We print the roast date on every bag. Use it as your guide — not the "best by" date.
Practical rule
Grind Right Before You Brew
Once you grind coffee, the surface area exposed to air multiplies dramatically. The aromatics — the florals, the fruit notes, the sweetness — start escaping immediately. Grinding even 20 minutes early means you've already lost part of what you paid for.
But there's a second issue that matters just as much: how you grind. This is where most people leave the most quality on the table.
A blade grinder chops beans randomly, producing a mix of fine dust and large chunks in the same batch. Fine particles over-extract quickly and add bitterness. Coarse chunks barely extract and contribute sourness. You get both problems in the same cup. The flavors muddy together and you can't taste what the bean actually is.
A burr grinder works differently. Two abrasive surfaces set to a precise gap crush every bean to a uniform particle size. That consistency means every particle extracts at the same rate, producing a clean, balanced, even flavor. That's where clarity comes from — and where you actually start tasting the origin character of the coffee.
The most impactful upgrade you can make
Grind size also controls extraction speed. Coarser grinds let water flow faster and need longer contact time. Finer grinds slow water down and extract quickly. Every brew method has a target grind — get it wrong and you've already lost the cup.
The Brew Method Changes Everything
This is what surprised me most when I started learning. Same beans, same roast date, same grinder — brewed four different ways, you get four completely different cups. The method determines which flavor compounds get extracted, how much oil stays in the cup, and whether you taste brightness or body.
I'll also say this upfront: all the methods I use personally keep hot water away from plastic. Stainless steel, glass, ceramic. That's the standard I hold my own setup to, and I think it's worth holding yours to the same.
Start by Weighing
If you change one thing about how you make coffee, make it this: weigh your coffee and your water. A scoop is a lie — beans vary in size and density, so the same scoop can hold noticeably different amounts of coffee from one bag to the next. A two-dollar kitchen scale fixes that overnight and is the single biggest jump in consistency you can make.
The number to know is the ratio — grams of coffee to grams of water. A good all-purpose starting point is 1:16: one gram of coffee for every sixteen grams of water (and since a milliliter of water weighs a gram, that's one gram of coffee per 16 ml). For a 12-ounce mug, that's roughly 22 grams of coffee to 355 grams of water.
From there, adjust to taste. A usable range runs from about 1:15 to 1:18 — pull toward 1:15 for a stronger, bigger-bodied cup, and out toward 1:17 or 1:18 for a lighter, cleaner one. Stronger isn't the same as over-extracted and weaker isn't the same as sour; ratio sets how much coffee is in the cup, while grind and time control how it's pulled from the bean. Start at 1:16, taste, and move from there. Each method below lists a starting ratio to anchor you.
This is my daily driver. I use a Hario V60 — all glass, no plastic touching the brew. Hot water moves through the grounds by gravity, filtered through paper. That paper traps the oils and micro-particles, which gives you the most transparent cup possible. You're tasting what the bean actually is — the origin character, the delicate acids, the florals — as clearly as the roast allows.
The bloom matters here. That first small pour — just enough to wet all the grounds — lets CO₂ escape before extraction begins. Watch the grounds puff up and release gas. Give it 30 seconds. Then pour slowly in controlled spirals. You're not rushing; you're letting water and coffee extract evenly across the whole bed.
Pour over rewards attention. It's not fussy, but it does ask something of you. That daily ritual is part of what I enjoy about it.
- Grind
- Medium-Fine
- Temp
- 195–205°F
- Brew Time
- 2–4 min
- Profile
- Bright & Clean
Percolators are having a real comeback, and I think it's deserved. I use a Coletti Bozeman — full stainless steel, no plastic anywhere in the brew path. That alone puts it ahead of most modern coffee makers from a health standpoint. There's nothing leaching into your cup except coffee.
Here's how it works: water in the bottom chamber heats up and travels up through a vertical tube, then showers down over the grounds in a perforated basket. That brewed coffee drips back down and cycles through again — multiple passes. This is why percolated coffee is stronger and bolder than drip. You're extracting more with each cycle, and no paper filter means the oils stay in the cup, giving it a heavier, richer mouthfeel.
The key is control. Once you see the first perk, drop the heat low. You want a gentle, steady bubble in the glass knob on the lid — one bubble every couple seconds, not a rolling boil. Hard boiling means the water is too hot and you'll over-extract into bitterness. Eight to ten minutes at that gentle perk is typically the sweet spot. Pull it off the heat, rest a minute, then pour.
Use a coarse grind — coarser than you'd use for French press. Fine grounds will pass through the basket and muddy the cup.
- Grind
- Coarse
- Heat
- Low — gentle perk only
- Brew Time
- 8–10 min
- Profile
- Bold & Full-Bodied
A French press is an immersion brewer — grounds steep directly in hot water for 4–5 minutes, then you press a metal plunger down to separate them. No paper filter. All the natural oils stay in the cup. That's why French press coffee feels heavier on the palate — those oils carry an entirely different class of flavor compounds than what comes through a paper filter.
If pour over is a clear window, French press is a warm room. Both are good — they're just fundamentally different experiences.
Stick with stainless steel or glass here. There are plenty of French presses on the market with plastic lids and frames — skip those. Use a coarse grind, steep 4–5 minutes, and pour immediately after plunging. If the coffee sits on top of the spent grounds, it keeps extracting and turns bitter.
The slightly stronger 1:15 ratio suits this full-immersion, metal-filter brew.
- Grind
- Coarse
- Temp
- 200°F
- Steep
- 4–5 min
- Profile
- Bold & Oily
Espresso uses pressure — typically 9 bars — to force hot water through very finely ground, tightly packed coffee in 25–30 seconds. The result is a small, intensely concentrated shot with crema on top. Everything in the bean gets amplified. The good and the bad.
This is the most demanding method. Grind precision matters more here than anywhere else. Too coarse and water rushes through in seconds — thin and sour. Too fine and water can't penetrate — bitter and over-extracted. Dialing in espresso means small, incremental grind adjustments until the timing lands in that 25–30 second window. It takes patience. But when it's right, there's nothing quite like it.
Espresso also needs more rest time from the roast date. Give your beans 7–14 days post-roast before pulling a serious shot. And on equipment — it's worth researching whether your machine keeps hot water away from plastic components. Many home machines don't.
Espresso isn't measured on the 1:16 scale — it's dialed by dose in and liquid out, typically around 1:2. If you're pulling shots you already know this; if you don't yet, espresso is the one method to learn hands-on, not from a card.
- Grind
- Very Fine
- Temp
- 195–205°F
- Brew Time
- 25–30 sec
- Profile
- Intense & Layered
I'll be straight with you — automatic drip is the method I'm most cautious about, and it comes back to the plastic issue. Most drip machines run hot water through plastic reservoirs and internal tubing before it ever touches your coffee. That's where the microplastic concern is highest, and it's the main reason I moved away from it personally.
If drip is your method, the machine you choose matters as much as the beans. Look for models with stainless steel water paths, glass carafes, and metal or ceramic filter baskets. SCA-certified machines are independently tested for proper brew temperature — most budget machines don't reach the 195–205°F range, which means under-extraction and a flat cup no matter how good your beans are.
If you're committed to drip, prioritize the machine, use a burr grinder, and buy fresh beans. All three together will produce a genuinely good cup.
Drip machines are notorious for uneven saturation — many never get water across the whole bed, leaving half the filter basket dry. Give the grounds a quick stir about halfway through the brew to wet everything evenly. It's the easiest fix for a weak, inconsistent drip cup.
- Grind
- Medium
- Temp
- 195–205°F ideal
- Brew Time
- 5–8 min
- Profile
- Balanced & Smooth
The Bottom Line
Buy beans with a roast date. Wait 5–10 days. Use a burr grinder. Grind right before you brew. Match your grind to your method. Keep plastic out of your hot water path.
We raise clean food at Deer Run Acres because we believe what you put into your body matters — every day, at every meal. Coffee is no different. The beans, the brewer, the equipment — small choices compound into something that's genuinely better every single morning.
All three of our coffees are roasted from certified organic green beans, roasted to order, and shipped right in that flavor window. If you haven't tried them yet, I'd start with the Ethiopia if you're a pour over person, and the Honduras if you want something bold and comforting. You can find all three in the shop.
— Caleb Schenk, Deer Run Acres
Caleb Schenk
Owner and farmer at Deer Run Acres, a regenerative family farm in Edinboro, PA producing the healthiest food through sustainable practices.